Keep Your Peace Lily Thriving: Mastering the Art of Repotting
Understanding Peace Lilies
Peace lilies are a popular choice among houseplant enthusiasts. With their lush green leaves and elegant white flowers, they add a touch of tranquility to any space.
But to keep them thriving, it’s important to understand their unique characteristics and care requirements, including the art of repotting peace lily.
What is a Peace Lily?

A peace lily, scientifically known as Spathiphyllum, is a tropical plant native to the rainforests of Central and South America. It’s an evergreen perennial that can grow up to 3 feet tall indoors.
The plant is renowned for its glossy, dark green leaves and unique white flowers, which are actually a specialized leaf bract that encloses the true flowers.
Peace lilies are not just beautiful—they’re also known for their excellent air-purifying properties, making them a healthy addition to your home or office.
For more information on how to care for a peace lily, you might find our article on how to care for a peace lily helpful.
Importance of Repotting Peace Lilies
Repotting is a crucial aspect of peace lily care. Over time, as the plant grows, it can outgrow its pot, leading to overcrowded roots and less room for water and nutrients to circulate.
Repotting provides your peace lily with a fresh supply of soil and more space to grow, promoting healthier and more vigorous growth.
Repotting also gives you a chance to inspect the roots for any signs of disease or pest infestation, which can be critical in maintaining the overall health of your plant.
Additionally, it’s an opportunity to refresh the potting mix, ensuring your peace lily has access to the vital nutrients it needs to thrive.
Generally, peace lilies need to be repotted every 1-2 years, but this can vary depending on the specific growth rate and condition of your plant.
Signs that your peace lily might need repotting include wilting or yellowing leaves, reduced flowering, or roots growing out of the drainage holes.
If you’re ready to embark on the journey of repotting your peace lily, be sure to continue reading for a step-by-step guide. And remember, repotting is just one aspect of peace lily care. To ensure your plant stays healthy and vibrant, you’ll also need to pay attention to factors like light, temperature, watering, and regular maintenance.
Check out our article on caring for peace lilies indoors for more comprehensive tips.
Signs It’s Time to Repot Your Peace Lily
Knowing when to repot your peace lily is an essential skill in maintaining the health of this beloved houseplant.
Some signs that your peace lily needs repotting include overcrowded roots, drooping despite regular watering, and reduced flowering.
Overcrowded Roots
A key indicator that your peace lily is ready for a new pot is overcrowded roots. If you notice roots growing out of the pot’s drainage holes or wrapping around the soil’s surface, it’s a clear sign that your plant has outgrown its current home.
Overcrowded roots can limit the plant’s ability to absorb water and nutrients effectively, leading to potential health issues.
If you’re unsure how to handle this situation, check out our article on dividing peace lily for some helpful tips.
Drooping Despite Regular Watering
If your peace lily is drooping despite receiving enough water, it might be a sign that the plant is root-bound and needs repotting.
Root-bound plants have limited space to expand, leading to reduced water intake and overall stress. You might also observe yellowing or wilting leaves.
For more information on why your peace lily might be drooping, have a look at our article on peace lily drooping.
Reduced Flowering
Peace lilies are known for their beautiful white blooms. However, if you notice your peace lily producing fewer flowers or not flowering at all, it might be a sign that the plant needs to be repotted.
The lack of blooms could be due to the plant focusing its energy on root growth instead of flowering. To learn more about the flowering habits of peace lilies and how to encourage more blooms, check out our article on how to care for a peace lily.
Recognizing these signs early on can help you take timely action and provide your peace lily with the care it needs.
Remember, repotting isn’t just about giving the plant more space; it’s also an opportunity to replenish the soil and provide new nutrients, ensuring your peace lily stays healthy and vibrant.
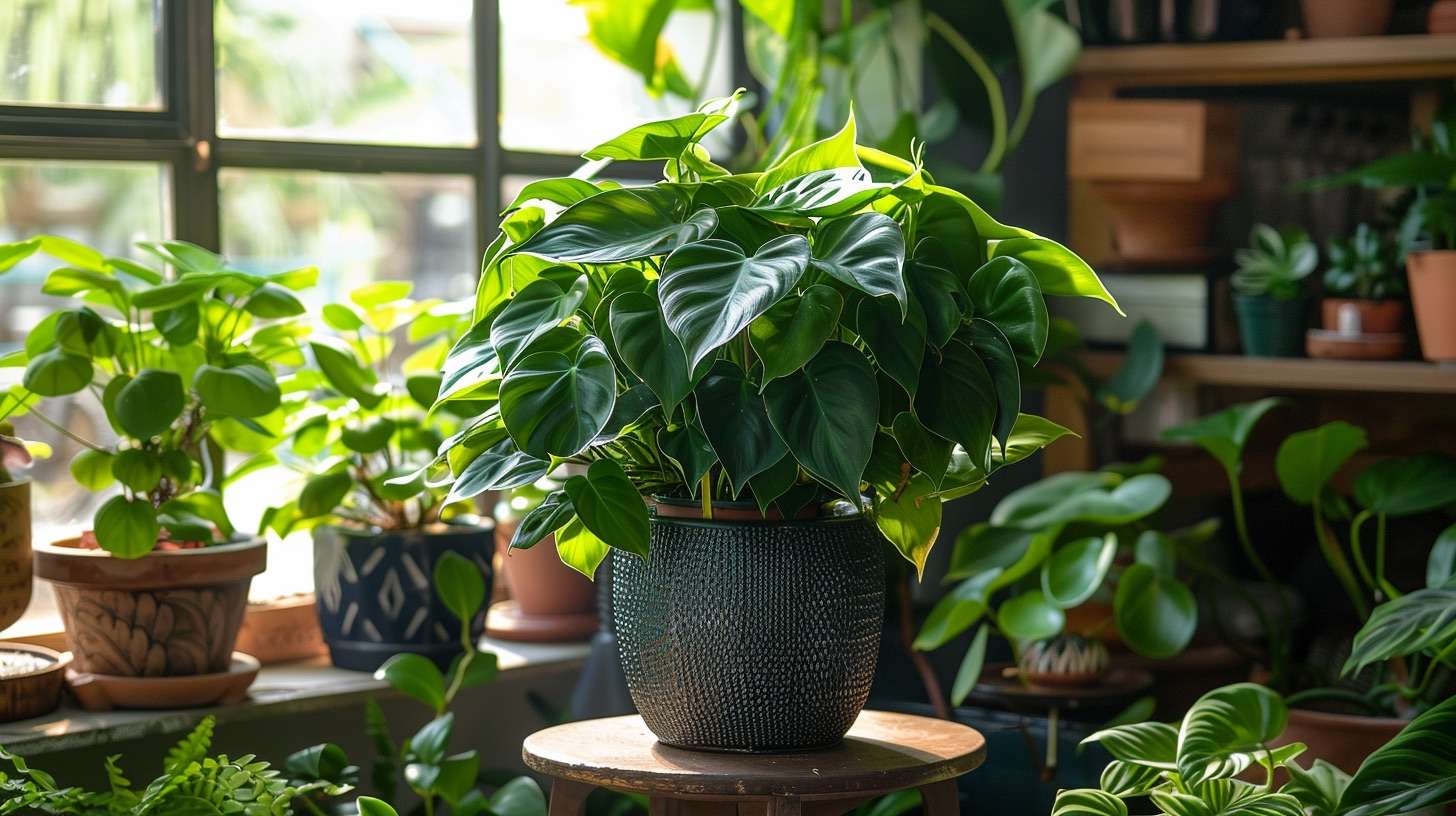
Choosing the Right Pot
One of the most crucial steps in repotting a peace lily is choosing the right pot. The size and material of the pot can significantly impact the health of your plant.
Size Matters
When it comes to pot size, peace lilies prefer to be slightly root-bound. The pot size should allow for growth, but not be overly spacious. A pot that’s too large can lead to overwatering, as the excess soil retains more water than the plant can absorb.
On the other hand, a pot that’s too small can hinder the plant’s growth and lead to overcrowding of roots.
As a rule of thumb, select a pot that is 1-2 inches larger in diameter than the current one. This provides enough room for the plant to grow, without causing waterlogging issues.
If you’re unsure about the size of your pot, refer to the table below for guidance:
| Current Pot Diameter (inches) | Recommended New Pot Diameter (inches) |
|---|---|
| 6 | 7 – 8 |
| 8 | 9 – 10 |
| 10 | 11 – 12 |
Material Considerations
The material of the pot also plays a key role in the health of your peace lily. Both plastic and ceramic pots are common choices, each with its own pros and cons.
Plastic pots are lightweight, affordable, and retain moisture well, making them a good choice for peace lilies which prefer consistently moist soil. However, they are not as durable as ceramic pots and may need to be replaced more frequently.
Ceramic pots, on the other hand, are heavy and sturdy, reducing the risk of your large peace lily toppling over. They also allow for better air circulation to the roots. However, they can be more expensive and may dry out faster than plastic pots.
Regardless of the material, ensure your pot has adequate drainage holes.
Peace lilies are sensitive to overwatering, and excess water needs a way to escape to prevent root rot.
Choosing the right pot is the first step towards successful repotting. Once you have the right pot, you can move on to the next steps in the repotting process, ensuring that your peace lily continues to thrive.
Make sure to check our guide on how to care for a peace lily for more peace lily care tips.
The Repotting Process
Successfully repotting a peace lily involves a series of steps. The process can be divided into three main stages: preparation, the actual repotting, and post-repotting care.
Each stage is crucial in ensuring the health and survival of your peace lily.
Preparations Before Repotting
Before you begin the process of repotting, it’s necessary to prepare properly.
This includes choosing the right time, gathering the necessary materials, and preparing the plant for repotting.
The best time to repot a peace lily is in the early spring, when the plant is just beginning its growing season. This allows the plant to adjust to its new pot and soil before the vigorous growth period.
For the repotting, you’ll need a new pot, fresh potting soil, and a pair of clean, sharp scissors. It’s also a good idea to water the peace lily a day before repotting.
This will make the plant easier to handle and reduce stress on the roots.
Repotting Peace Lily: Step by Step
Once you’ve prepared, you can proceed to the actual repotting process. Here’s a simple guide on how to go about it:
- Gently remove the peace lily from its current pot. Be careful not to pull or tug on the stems. If the plant is stuck, you can loosen it by running a knife around the edge of the pot.
- Examine the roots. If you notice any dark or mushy roots, trim them off with your scissors. This will help prevent root rot and other diseases.
- Place the peace lily in the new pot. The pot should be larger than the previous one but not too large, as this could cause the soil to stay too damp.
- Fill the pot with fresh potting soil. Make sure to cover the roots completely but avoid packing the soil too tightly.
- Water the peace lily thoroughly. This will help settle the soil and give the plant a good start in its new home.
For a more detailed guide to repotting, check out our article on how to care for a peace lily.
Post-repotting Care
After repotting, it’s important to provide the peace lily with appropriate care to help it adjust to its new environment.
Place the recently repotted peace lily in a spot with bright, indirect light and keep it away from drafts or sudden temperature changes. Water it regularly but allow the top inch of soil to dry out between watering.
Overwatering can lead to peace lily wilting or yellow leaves.
Monitor the peace lily closely for the first few weeks after repotting. If you notice any signs of stress, such as wilting or browning leaves, adjust your care routine as necessary. For more tips on post-repotting care, visit our guide on caring for peace lilies indoors.
Remember, patience is key when repotting peace lilies. It may take a few weeks for your plant to adjust and start showing signs of new growth.
But with proper care, your peace lily will thrive in its new pot and reward you with its beautiful, lush foliage.
Common Mistakes and Troubleshooting
Despite your best efforts, you may encounter some problems when repotting a peace lily. Here are a few common mistakes to be aware of and how to troubleshoot them.
Overwatering After Repotting
Overwatering a freshly repotted peace lily is a common mistake. While it’s important to give your plant a good drink after repotting, overdoing it can lead to waterlogged soil and root rot. If your peace lily is drooping or wilting despite being newly repotted and watered, it might be a sign of overwatering.
In this case, allow the soil to dry out a bit before watering again.
For more information on properly watering a peace lily, check out our guide on how to care for a peace lily.
Choosing the Wrong Soil
Choosing the wrong type of soil can also lead to problems when repotting a peace lily. Peace lilies prefer well-draining soil that retains some moisture but doesn’t stay soggy.
If the soil is too heavy or doesn’t drain well, the roots can become waterlogged and susceptible to rot. If you notice your peace lily’s leaves turning yellow after repotting, it might be due to poorly draining soil.
This can be remedied by repotting the plant again using a better-quality potting mix.
Read more about dealing with yellow leaves on a peace lily in our dedicated guide.
Damaging the Roots During Repotting
During the process of repotting, the roots of a peace lily can sometimes get damaged. This can lead to the plant wilting or drooping after being repotted.
To avoid this, handle the root ball gently when removing the plant from its old pot and placing it in the new one. If the roots are tightly bound or overcrowded, gently tease them apart with your fingers before repotting. If you notice your peace lily wilting after repotting, it may be due to root damage.
Give the plant some time to recover, ensuring it has the right light and water conditions.
Learn more about troubleshooting a wilting peace lily in our article.
By being aware of these common mistakes, you can ensure your peace lily thrives after being repotted. Remember, patience is key when caring for plants.
It might take some time for your peace lily to adjust to its new pot and soil, but with consistent care, it will soon bounce back.
Don’t forget to check out our guides for more on caring for peace lilies indoors.
Tips for Peace Lily Longevity
Beyond the process of repotting peace lily, there are several factors that contribute to the overall health and longevity of this beautiful houseplant.
From regular care and maintenance to understanding its light and temperature needs, let’s explore how to keep your peace lily thriving.
Regular Care and Maintenance
Routine care is key to the longevity of your peace lily. Regularly check your plant for any signs of pests or disease, such as yellow or brown leaves. If you notice any issues, it’s important to address them promptly to prevent further damage.
Pruning is another aspect of regular maintenance. Remove any old or yellowing leaves to allow the plant to focus its energy on new growth.
This also helps to maintain the overall appearance of your peace lily.
For more information on how to manage yellow or brown leaves, check out our articles on yellow leaves on peace lily and peace lily brown leaves.
When it comes to repotting, it’s crucial to be gentle to avoid damaging the roots. The peace lily is a resilient plant, but rough handling during repotting can cause unnecessary stress.
For more tips on repotting, visit our guide on how to care for a peace lily.
Understanding Light and Temperature Needs
Understanding your peace lily’s light and temperature needs is critical for its growth and longevity. Peace lilies prefer bright, indirect light. Direct sunlight can scorch the leaves, while too little light can cause the plant to become leggy and may prevent it from flowering.
For more details on light requirements, visit our guide on peace lily light requirements.
As for temperature, peace lilies prefer a warm environment, ideally between 65-85°F (18-30°C).
They do not tolerate cold drafts or sudden temperature changes well, so it’s important to keep them away from doors and windows during colder months.
| Ideal Light | Ideal Temperature |
|---|---|
| Bright, indirect light | 65-85°F (18-30°C) |
Watering and Feeding Your Peace Lily
Watering is perhaps one of the most critical aspects of peace lily care. These plants prefer evenly moist soil, but they do not like to be overwatered.
Water your peace lily thoroughly, then allow the top inch of soil to dry out before watering again. Overwatering can lead to root rot and other problems, such as wilting or yellowing leaves.
If you notice your peace lily drooping or wilting, check out our article on peace lily drooping and peace lily wilting.
Feeding your peace lily is also essential for its growth. During the growing season (spring and summer), feed your peace lily with a balanced houseplant fertilizer once a month.
This will provide the necessary nutrients for healthy growth and flowering.
| Watering Needs | Feeding Needs |
|---|---|
| Evenly moist soil, allow top inch of soil to dry before watering again | Balanced houseplant fertilizer once a month during growing season |
By following these essential care tips, you can ensure that your peace lily not only survives but thrives, bringing beauty and a touch of tranquility to your home for many years to come.