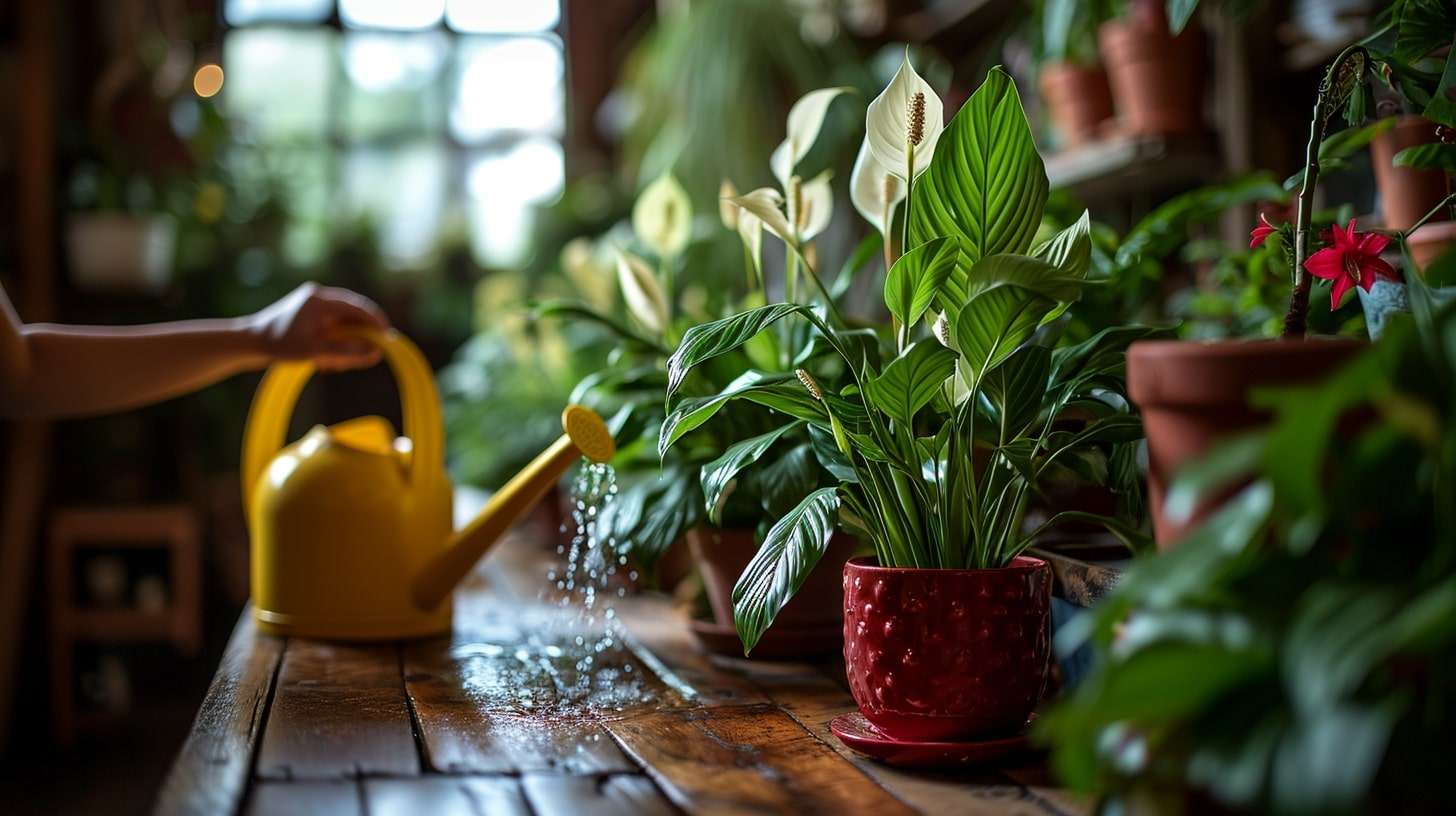
Green Thumb Secrets: Maximizing Monstera Propagation Success
Monstera propagation is a popular topic among plant enthusiasts and for good reason. This process offers a cost-effective way to expand your indoor jungle and share the joy of owning a Monstera with friends and family.
What is Monstera Propagation?
Monstera propagation refers to the process of growing a new Monstera plant from a section or cutting of an existing one. This method is commonly used because Monsteras, like many tropical plants, have the ability to develop new roots from the nodes present on their stems. This makes it possible to create a whole new plant from a small cutting.
Propagation is not only a cost-effective way to increase your plant collection but it’s also an excellent opportunity to learn more about the fascinating growth process of these tropical beauties. By understanding the process of propagation, you can ensure the healthy growth of your Monstera and maximize the success of your propagation efforts.
Why Propagate Your Monstera?
There are several reasons why you might want to consider propagating your Monstera. Firstly, if your Monstera is growing too large for its current space, propagation offers a solution. By taking a cutting, you can manage the size of your existing plant while also creating a new one.
Secondly, propagation allows you to share your love for Monsteras with others. Propagated cuttings make thoughtful gifts for friends and family who appreciate plants.
Finally, propagation can also be a useful tool in maintaining the health of your Monstera. If your plant is suffering from a disease or pest infestation, taking a healthy cutting can save and continue the lineage of your plant.
Propagating your Monstera is a rewarding process that allows you to engage more deeply with your plant. Whether you’re interested in managing the size of your plant, sharing your love for Monsteras, or simply saving a beloved plant from disease, propagation can be a beneficial method to consider. For more details on taking care of your Monstera, you can check out our guide on monstera plant care.
Preparing for Propagation
Before you begin the process of monstera propagation, it’s crucial to properly prepare. This involves selecting the right monstera cutting and gathering the necessary tools and supplies.
Selecting the Right Monstera Cutting
Choosing the right cutting is the first step towards successful monstera propagation. The best cuttings for propagation are those that are healthy, mature, and have at least one node or aerial root. A node is a small, brown nub that can potentially grow into a new plant.
When selecting a cutting, look for leaves that are vibrant and free from signs of disease or damage. Avoid using cuttings from a plant that is stressed, such as a plant that has recently been moved or re-potted.
It’s also important to consider the size of the cutting. A cutting with multiple leaves may have a better chance of surviving compared to a cutting with only one leaf. However, larger cuttings will require more resources to thrive, so make sure you are prepared to provide the necessary care for your new plant.
For more information on selecting and caring for your monstera plant, you can refer to our article on monstera plant care.
Tools and Supplies Needed for Propagation
To propagate your monstera plant, you will need the following tools and supplies:
- A sharp, clean pair of pruning shears or a knife
- A container or pot with drainage holes
- High-quality potting mix or a well-draining soil mix
- A clear plastic bag or a propagation box (optional)
- Rooting hormone (optional)
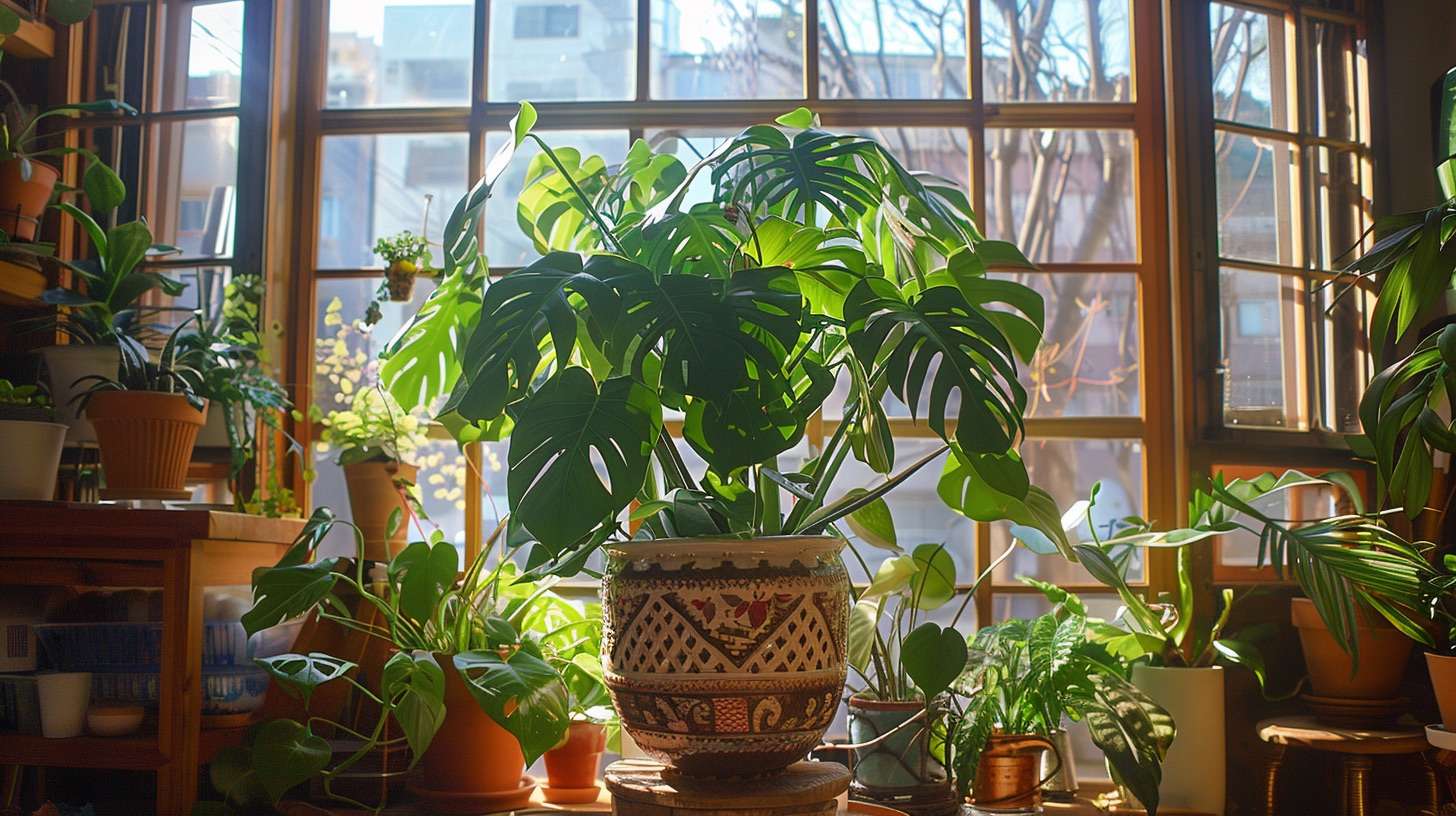
When choosing a container for propagation, consider the size and growth habits of the monstera variety you are propagating. Some varieties, such as the Monstera deliciosa, can grow quite large, and will need a larger container to accommodate their growth. For more information on different Monstera varieties, you can refer to our guide on monstera deliciosa varieties.
It’s also important to keep your tools clean to prevent the spread of disease. Before and after each use, clean your pruning shears or knife to ensure they are free of any harmful bacteria or fungus.
With the right cutting and the necessary tools and supplies, you are now ready to embark on the exciting journey of monstera propagation. Remember, patience is key when it comes to plant propagation. It may take several weeks or even months for your cutting to develop roots and new growth, but the wait is definitely worth it when you see your new monstera plant thriving.
The Propagation Process
The propagation process for a Monstera plant can be an exciting journey as you watch a new plant come to life from a cutting. Let’s walk through the steps of successful Monstera propagation and shed light on some common mistakes to avoid.
Step-by-Step Guide to Monstera Propagation
- Identify a suitable stem cutting on your Monstera plant: Look for a healthy stem that has at least one leaf and one aerial root or node. The node is a small brown bump from which the roots will grow.
- Prepare your tools: Clean your scissors or pruning shears to avoid introducing any disease or bacteria to the plant.
- Cut the stem: Make a cut just below the node or aerial root.
- Prepare for rooting: Place the cutting in a glass or jar of room temperature water, making sure that the node is submerged but the leaf remains above water.
- Wait and watch: Place the cutting in a warm, well-lit area and wait for roots to grow. This could take anywhere from 2-4 weeks. Change the water weekly to keep it fresh.
- Plant the cutting: Once the roots are about 2 inches long, plant the cutting in a pot with well-draining soil.
- Care for your new Monstera: Provide the same care as you would for a fully grown Monstera, ensuring it receives ample but indirect light, and water it only when the top inch of soil is dry.
For more detailed care instructions, refer to our guide on monstera plant care.
Common Mistakes to Avoid

While propagating Monstera plants is generally straightforward, there are a few common mistakes to avoid.
Overwatering: While it’s important to keep the soil of a newly potted Monstera moist, overwatering can lead to root rot. It’s better to let the top inch of soil dry out before watering again.
Insufficient Light: Monstera cuttings need plenty of indirect light to grow. Too little light can hinder growth, but direct sunlight can scorch the leaves.
Impatience: Propagation takes time. It’s important to resist the urge to tug on the cutting to check for root growth, which can damage the developing roots.
Neglecting Humidity: Monstera plants thrive in humid environments. If your home is dry, consider using a pebble tray or a humidifier to increase the humidity levels.
Propagating a Monstera plant can be a rewarding experience. With a little patience and the right care, you can watch a new plant grow from a simple cutting. Remember, mistakes are part of the learning process. Don’t hesitate to try again if your first attempt doesn’t succeed.
Aftercare for Propagated Monstera
Once you’ve successfully propagated your Monstera, the journey has only just begun. The aftercare for your propagated Monstera is just as important as the propagation process itself. It is essential to ensure the right conditions and keep an eye out for signs of successful propagation.
Ideal Conditions for Newly Propagated Monstera
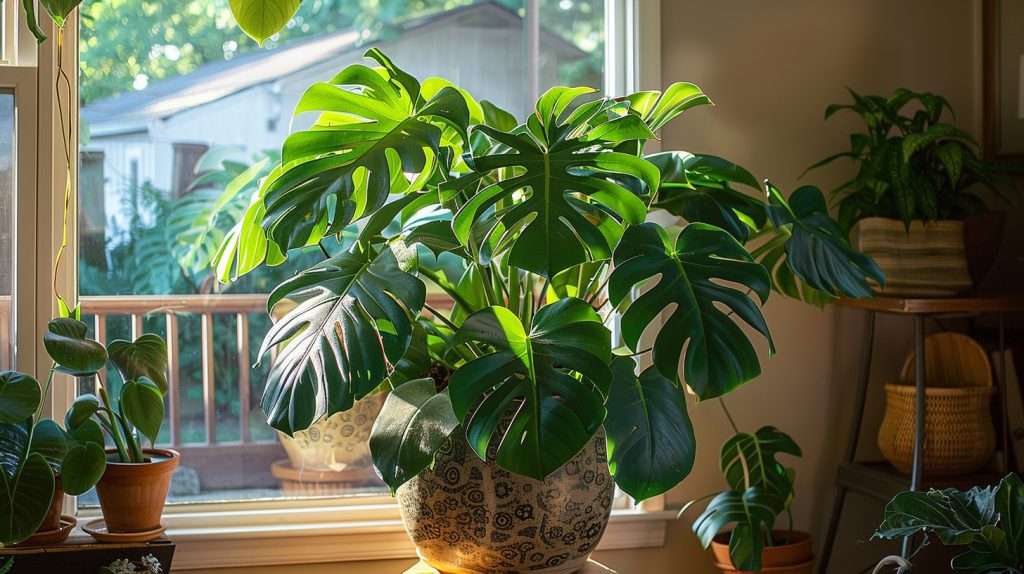
Creating the right conditions for your newly propagated Monstera is crucial for its growth and development. The plant thrives best in indirect sunlight. Therefore, positioning it near a north or east-facing window is ideal. However, ensure that it’s not exposed to direct sunlight as it can scorch the leaves.
Temperature and humidity also play a significant role in the health of your Monstera. The plant prefers a warm environment, with temperatures ranging from 65 to 85 degrees Fahrenheit. Monstera plants also appreciate high humidity, which can be achieved by placing a tray of water near the plant or using a humidifier.
Watering is another crucial aftercare aspect. Water your Monstera when the top inch of the soil feels dry. Overwatering can lead to root rot, a common issue among Monsteras.
| Condition | Ideal for Monstera |
|---|---|
| Light | Indirect Sunlight |
| Temperature | 65 – 85°F |
| Humidity | High |
| Watering | When top inch of soil is dry |
To learn more about caring for your Monstera, check out our guide on monstera plant care.
Signs of Successful Monstera Propagation
Observing your propagated Monstera for signs of successful propagation is part of the fun and excitement. One of the first signs of successful propagation is the emergence of new roots. Once you notice new roots growing from the nodes, it’s an indication that your propagation process is successful.
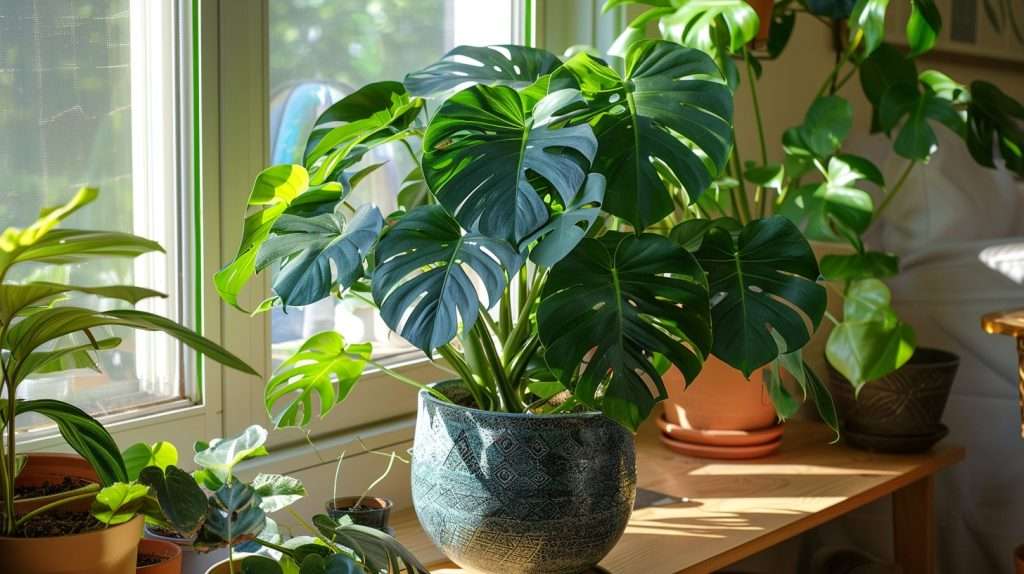
After roots, the next sign of successful propagation is the growth of new leaves. The new foliage will typically start as small nubs that gradually grow and unfurl into mature leaves. This process can take several weeks, so patience is key.
Finally, a healthy color and firmness in your Monstera’s leaves are positive signs. If the leaves are a vibrant green and stand erect, your Monstera is on the right track. If you notice yellowing or wilting leaves, it might be a sign of overwatering or insufficient light. For more information on how to deal with yellow leaves, visit our article about monstera plant yellow leaves.
| Successful Propagation Signs | What to Look For |
|---|---|
| New Roots | Visible roots growing from nodes |
| New Leaves | New foliage starting as small nubs |
| Healthy Leaves | Vibrant green color and firmness |
Taking care of your newly propagated Monstera and observing signs of successful propagation are an integral part of the Monstera propagation journey. With patience and the right conditions, you can watch your propagated cuttings flourish into a thriving Monstera plant. Happy planting!
Troubleshooting Monstera Propagation
Even with the best care and attention, you might encounter challenges in your monstera propagation journey. Not to worry, these issues are common and usually fixable with a few adjustments.
Identifying Common Problems
Here are a few common problems you might encounter during monstera propagation:
- No Root Growth: It’s important to remember that rooting can take time, typically 2-6 weeks. However, if there’s no root growth after this period, it could be due to inadequate warmth, lack of water, or insufficient light.
- Yellow Leaves: This is often a sign of overwatering. If your propagated monstera is turning yellow, you might need to adjust your watering schedule. Check out our article on monstera plant yellow leaves for more insights.
- Rotting Stem: If the cut end of your monstera cutting is rotting, this might be due to too much moisture. It’s crucial to let the cut end callous over before placing it in water or soil.
- Leaf Drop: This could be a sign of shock, which can occur if the cutting was not in a suitable environment before propagation.
Tips and Tricks for Maximizing Propagation Success
To maximize your success with monstera propagation, consider these tips:
- Choose a Healthy Parent Plant: The healthier the parent plant, the higher the chances of successful propagation. For more tips on caring for your monstera, visit our monstera plant care guide.
- Use a Sharp, Clean Cutting Tool: This minimizes damage to the plant and reduces the risk of introducing disease.
- Provide Adequate Light and Warmth: These are essential for root development. However, avoid direct sunlight as it can scorch the leaves. Find out more about the ideal conditions for a monstera plant indoor.
- Change the Water Regularly: If you’re propagating in water, change it every few days to prevent bacterial growth.
- Be Patient: Propagation is a slow process. Don’t rush it – give your monstera cutting time to develop roots.
Remember, every plant is unique, and what works for one might not work for another. It’s all about patience, trial, and error, and of course, lots of love and care. Happy propagating!